Friday, 9 December 2011

Construction of Advert

To create our poster we used photo shop. We started by uploading the base photo onto the background. We had to change the immage to balck and white using the black and white tool located at the side. After this we had to scale and cut the image.
Next we used the text tool to add the artists name, title, quotes and website. This was simple enough, but we had to leave space for the rating too. We used the shape tool for the rating and coppied 4 stars down.
Finally we had to import the digipak front and two company logos on to the poster.

Construction of Digipak

We used Fireworks to make our digipak and started by opening a blank document.
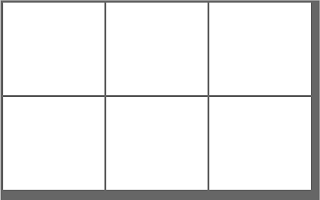
We then added the six individual pannels using the 'creat a square' tool at the  side. We spent a whileworking with the diementions to get the lined up perfectly.
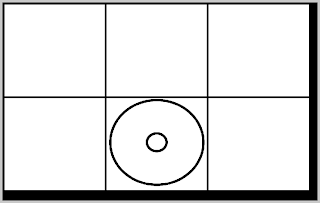
After that we changes background colour and added the disk pannel so that we had our basic construction.

From there we had to add all the detail. We used the same background for each pannel and then I had to add text on top. The text tool was simple to use, but the range of fonts was an issue when it came to making the title stand out. The track list font was simple to find. Also we wanted the fonts to be different but resemble each other so we kept them the same colour. Adding pictures was also simple, but cutting them and fading them in was not.
We ended up making our digipak four pannel as we thought it looked better over all.

Filming

Our filming generally went well and out performer was very co-operative, this made filming very sucessful.
 We had some issues with certain shots because of layout of rooms, lighting ect. We added additional shots to get round this and filmed in different areas to planned. The main shot we had issues with was the mirror shot, this was due to lighting and angle. We solved this be having another shot used instead.
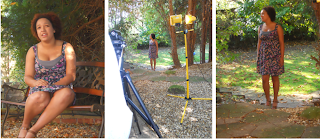
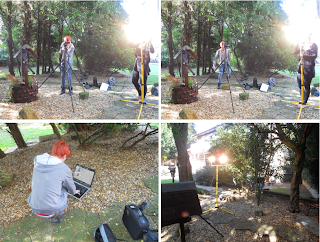
We spent 3 days filming in 3 different locations. We used my nans house and back garden, a public park and the school drama room. These locations all brought something different to the video. The challenges we came across through filming were; lighting, mainly considering time of day and how to carry the lights around, the other big problem was white ballance, as the light kept changing we kept having to change white ballence and ended up filming more if we forgot.

Editing

 The First thing I had to do was create a new project in Adobe Premiere Pro, I called this project 'Everything Lies'
 The preset needed to be changed to DV-PAL, widescreen 48kHz. Allowing my video to be in widescreen on youtube.
 Once I had sucessfully changed the settings I had to import my footage onto Adobe Premiere Pro. To do this I must first go to the 'file' tab at the top and then the 'import' tab from there, this brings up a screen which I found my files from.
 The individual files must be placed on the timeline at the bottom and then cut using the cutting tools at the bottom. For the conventions of a music video there must be a lot of close-ups and quick cuts so we kept to these conventions in editing. We also had to overlay our music after importing it.
The last part of our construction was changing all of the shots to black and white. This is through the effects tab at the side.